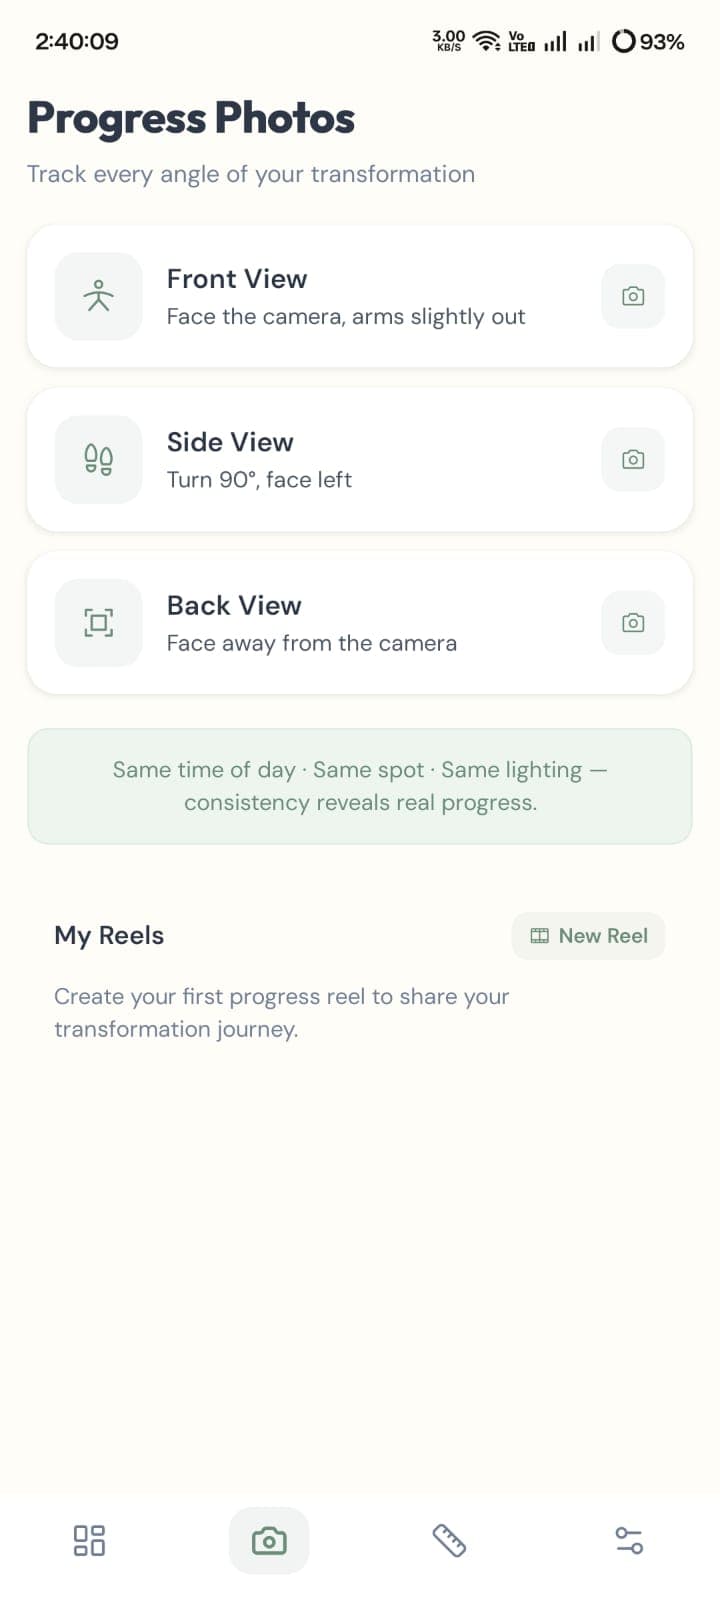
A transformation video is a compression problem before it is an editing problem. You are trying to show six months of gradual change in about fifteen seconds, and most of the decisions that make it work are made before you open an editor.
The good news is that if you have been taking comparable progress photos, the hard part is already done. What remains is a handful of choices about count, pacing, and order.
The short answer
- 8 to 20 photos, same pose and framing throughout
- 1.5 seconds per photo as a default hold
- Crossfade if your framing drifts, cut if it is locked
- Chronological order, oldest first
- 10 to 30 seconds total, exported vertical
Everything below is the reasoning behind those numbers.
How many photos you actually need
Six is roughly the floor. Below that, a viewer reads the result as a slideshow of separate pictures rather than one body changing.
The ceiling is around 25. Past that you are forced to choose between a video that runs too long and frames so brief that nothing registers.
The sweet spot falls out of a normal check-in habit. Weekly photos over three months gives you twelve or thirteen images, which at a normal hold lands at about eighteen seconds. Monthly photos over a year gives you twelve as well. Both work.
If you have far more than 25, do not use them all. Pick one photo per interval and keep the interval even — every fourth week, say. An uneven timeline makes the change look jumpy in a way that has nothing to do with your body.
Pacing is the decision people get wrong
Hold duration determines whether the video reads as change or as flicker.
| Hold | 12 photos | Best for |
|---|---|---|
| 0.8s | ~10 seconds | 15+ photos, social feeds |
| 1.5s | ~18 seconds | The default for most check-in sets |
| 2.5s | ~30 seconds | Fewer than 8 photos |
The rule is inverse: the more photos you have, the shorter each one should hold. Fewer photos need longer holds so each has time to land.
Total length matters more than either number. Under ten seconds and the change has no room to accumulate. Past about thirty, attention drops off well before the payoff.
Transitions, and what each one conceals
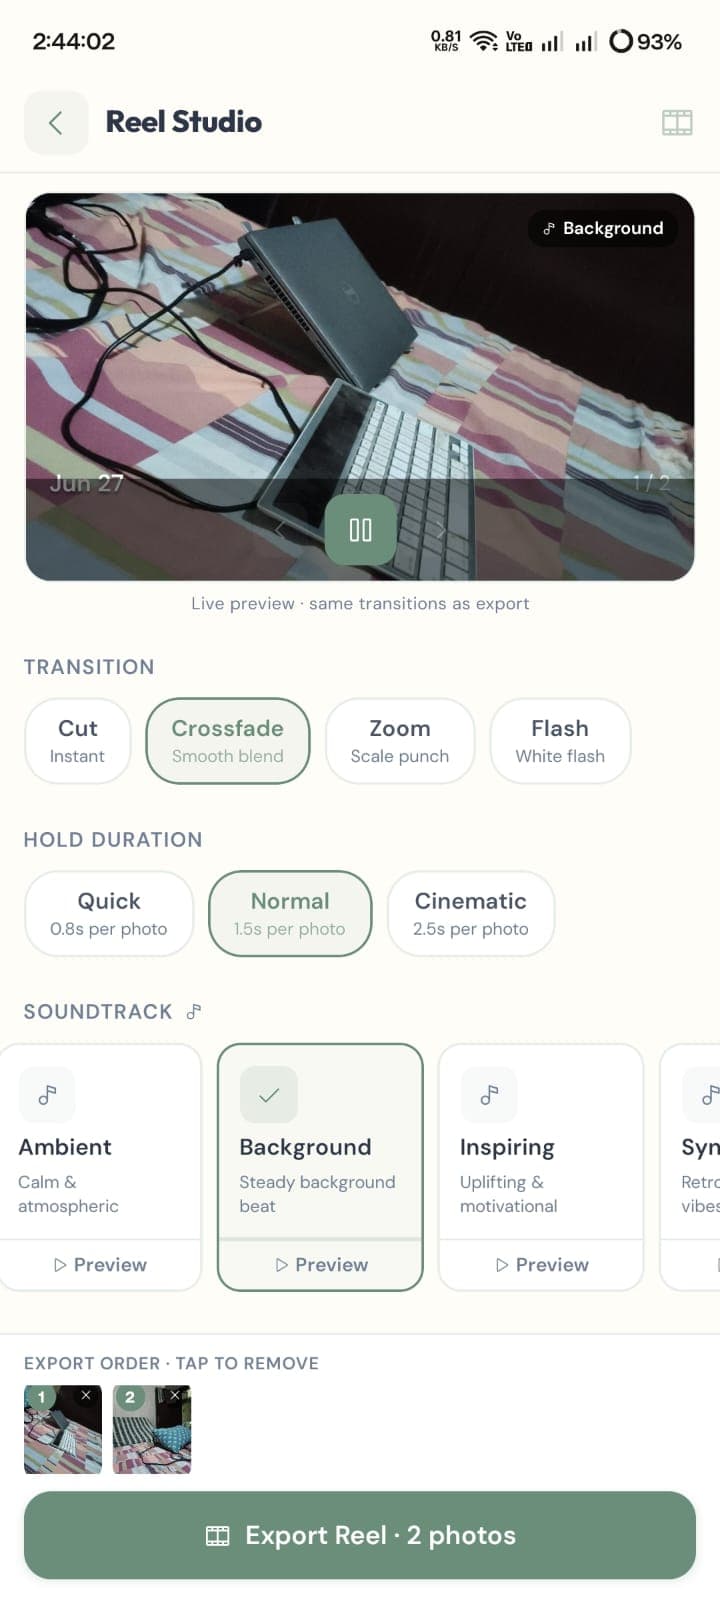
FormSnap's Reel Studio offers four, and the choice is less cosmetic than it looks:
- Cut — instant. The most honest option, and the least forgiving. Any drift in camera height or distance becomes a visible jump.
- Crossfade — a smooth blend between frames. Forgiving of small framing differences, which makes it the right default for photos taken over months in a real home.
- Zoom — a scale punch into each frame. Adds energy, and can make change look larger than it is.
- Flash — a white frame between photos. It hides mismatched framing effectively, but repeated full-screen flashing is unpleasant to watch and is a genuine accessibility problem for people with photosensitivity. Use it sparingly, if at all.
Worth being clear-eyed about: a transition that hides framing drift also hides information. Crossfade is the right practical choice for most sets, but if you are trying to judge your own change honestly rather than share it, watch the photos side by side too.
Order, and which photos to leave out
Chronological, oldest first, in nearly every case. The change accumulates, and the newest photo lands last — which is where a viewer's attention settles.
Then remove the outliers. A single frame shot in different lighting, in different clothing, or at a different time of day will read as a sudden change in your body when it is nothing of the sort. One bad frame in twelve is very noticeable. Cutting it is not dishonest; keeping it is what misleads.
If a photo is the only record of a particular month, keep it and accept the wobble. Gaps read worse than imperfections.
Sound does more work than it should
A soundtrack changes how the same footage is read. A steady background beat makes a set feel like a record; something uplifting makes the identical photos feel like an achievement.
Pick the tone you actually mean. The mismatch people regret later is a triumphant track over a set they took during a difficult period.
If you are posting to a platform, check the audio before exporting — some soundtracks are muted automatically on upload, and a silent reel paced for music feels oddly slow.
What a transformation video cannot show you
It shows silhouette, posture, lighting, and clothing. That is a real signal, and it is not the same as body composition.
A video cannot tell you how much of a change was fat, muscle, or water. For that you want the numbers alongside the pictures — circumference at fixed sites, tracked over time. Health bodies use measures like waist circumference precisely because a silhouette is not a diagnostic (NHLBI).
It also cannot show the changes that are not visual. Strength, sleep, and how clothes fit are frequently the first signs anything is happening, and none of them appear in a reel.
Treat the video as the shareable summary, not the evidence.
Bottom line
Take comparable photos on a regular interval, use 8 to 20 of them, hold each for about 1.5 seconds, crossfade between them, run them oldest to newest, and cut the frames shot under different conditions.
The finished video will be about twenty seconds long, and almost all of its quality was determined months earlier by whether you stood in the same place each time.