The most useful progress photo is not the most flattering one. It is the one you can repeat.
A dramatic pose, stronger overhead light, or a camera held a little lower can make the same body look noticeably different. If you want photos to show change rather than camera technique, standardize the conditions first.
The short answer
For comparable progress photos, use the same:
- Location and background
- Soft, even lighting
- Camera height, distance, and lens
- Time of day
- Clothing
- Front, side, and back poses
- Check-in interval
You do not need studio equipment. You need a setup simple enough to repeat for months.
1. Choose one permanent location
Pick a place where you can reliably control the camera and your position. A plain wall is helpful because it removes visual noise, but the bigger advantage is repeatability.
Mark two positions:
- Where the camera or phone stand goes
- Where your feet go
Small pieces of removable tape work. If tape is not practical, use stable reference points such as a tile edge, rug corner, or door frame.
Avoid taking one photo in a bedroom mirror, the next in a gym, and the third outdoors. Different environments introduce different lighting, focal lengths, and camera angles.
2. Use soft, even light
Face a large window or use the same room light each time. Try to avoid a single harsh light directly above you; it can create strong shadows that exaggerate definition.
Natural light changes throughout the day, so “the same room” is not always enough. Morning window light and late-afternoon window light can produce very different contrast. Choose a rough time window and keep it consistent.
Do not use filters, portrait-mode blur, or automatic “beauty” effects. The purpose is documentation.
3. Lock the camera position
Use the rear camera if you can frame it reliably, because it usually provides better image quality. A tripod is convenient, but a stable shelf works too.
Keep these details constant:
- Height: around the middle of your torso is a practical starting point
- Distance: far enough to include your full body without using a very wide lens
- Zoom: use the same setting each time; avoid switching between 0.5×, 1×, and 2×
- Orientation: portrait is usually the simplest for full-body photos
Do not tilt the phone upward or downward. A tilted camera changes proportions through perspective.
4. Repeat the timing
Your appearance and weight can shift during the day as you eat, drink, train, and retain or lose water. NIH notes that water makes up a large portion of body weight, which is one reason short-term changes do not always represent tissue change (NIH, 2023).
A practical routine is:
- Take photos in the morning
- Use the bathroom first
- Photograph before eating or training
- Follow roughly the same hydration routine
This does not make the photo scientifically precise. It simply removes avoidable variables.
5. Wear repeatable clothing
Choose clothing that makes your outline visible and that you are comfortable using again. The same item is ideal. If that is not possible, use the same style and fit.
Loose clothing can hide changes. Very tight clothing can compress tissue differently from one session to the next. Keep footwear consistent too—or go barefoot every time.
6. Capture three relaxed views
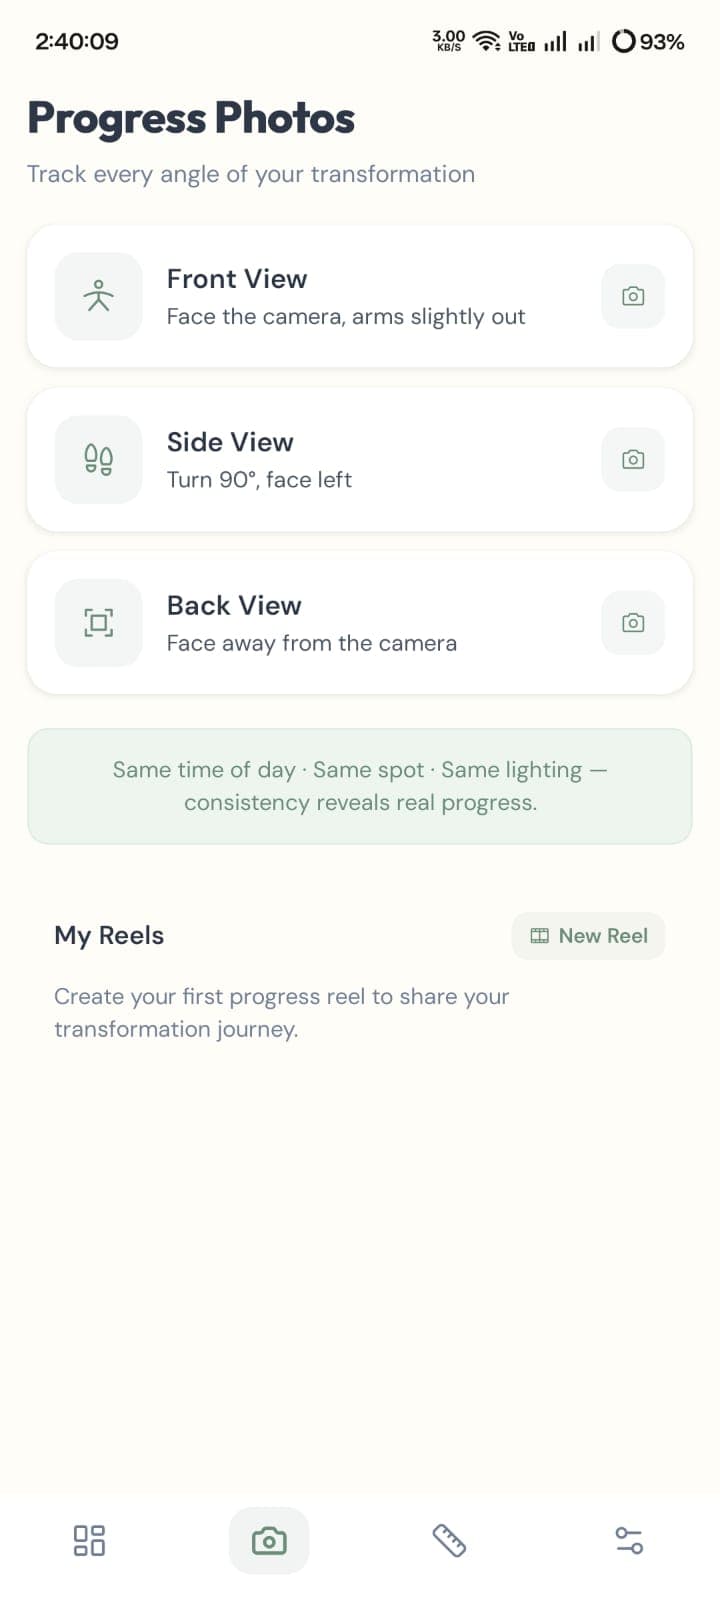
One angle can hide important changes. Use a simple three-view set:
Front
Stand tall with feet in the same position. Keep your arms slightly away from your torso so your waistline is visible. Look forward and breathe normally.
Side
Turn 90 degrees. Keep your head neutral and avoid deliberately arching your back, pushing your hips forward, or pulling your stomach in.
Back
Face away from the camera with the same foot spacing. Let your shoulders and arms settle naturally.
You can also take a separate flexed set if that is meaningful for your training, but do not mix relaxed and flexed photos in the same comparison.
7. Choose a useful interval
Daily photos usually create more noise than insight. For many people, weekly or every-other-week photos are easier to sustain and far enough apart to make slow changes more visible.
Pick a schedule you can maintain. Four perfectly standardized photos taken across two months are more useful than 25 inconsistent photos taken in the first three weeks.
A quick progress-photo checklist
Before pressing the shutter, ask:
- Is the camera in the same place?
- Am I standing on the same mark?
- Is the lens at the same height and zoom?
- Is the light coming from the same direction?
- Am I using the same clothing and pose?
- Is this approximately the same time of day?
- Am I relaxed rather than trying to “improve” the image?
How often should you compare photos?
You can capture weekly while comparing over longer intervals, such as four, eight, or twelve weeks. This keeps the habit regular without encouraging you to judge tiny week-to-week differences.
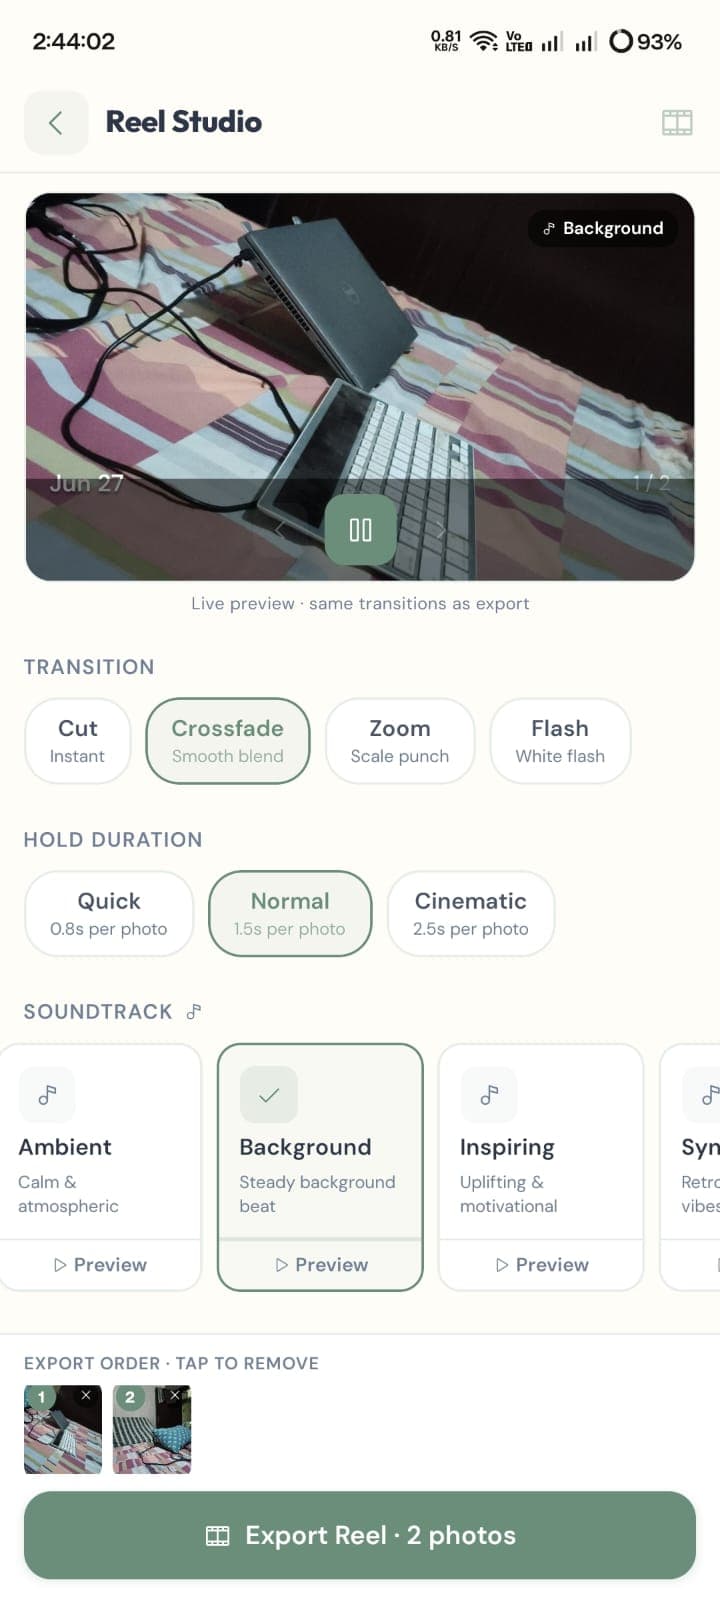
When comparing, look at the same view and similar dates side by side. Treat the image as one part of the record, alongside measurements, training performance, clothing fit, and how you feel.
The rule that matters most
Do not change the method because you dislike one check-in.
The value of progress photos comes from a consistent series—not from making every individual photo look encouraging. A neutral record can reveal changes that memory, mood, and a bathroom scale miss.